
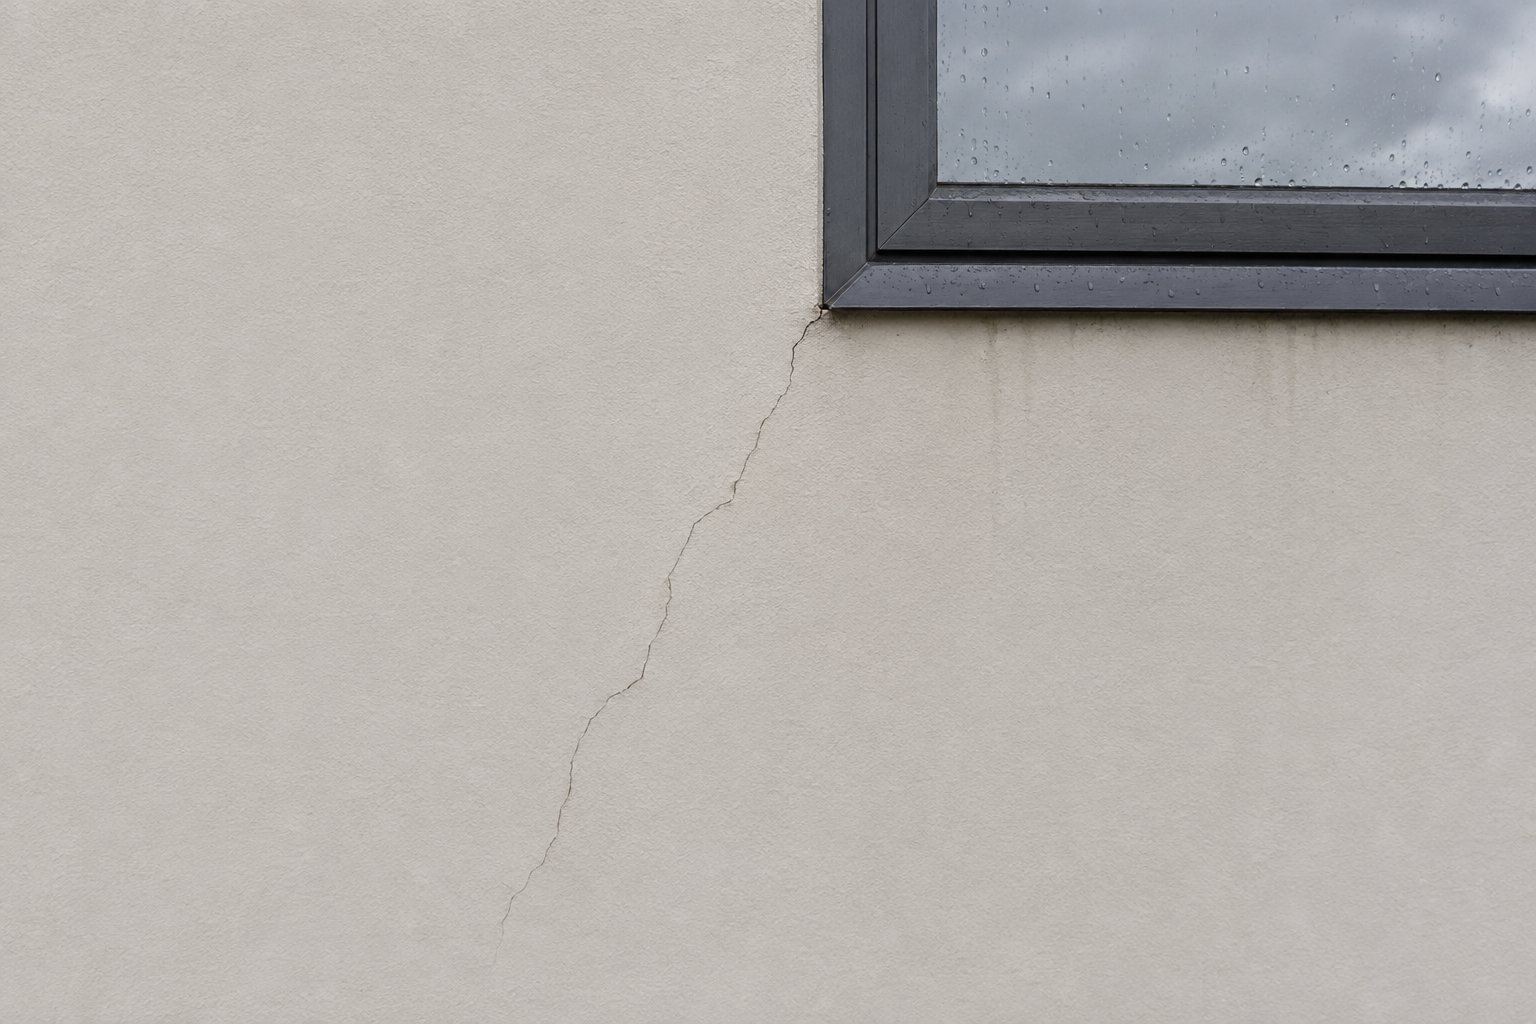
Spotting a crack in your exterior plaster doesn’t automatically mean you have a major leak, nor does a tiny crack guarantee everything is fine. Because monolithic cladding cracks for many reasons, you can’t judge the health of your framing from the surface alone. Use the crack as a guide for where to investigate further, and as a prompt to bring in a qualified expert if it keeps coming back, gets bigger, or shows up alongside signs of moisture inside.
This guide covers what monolithic cladding is, why cracks appear, which signs are worth a professional assessment, and what you can safely do in the meantime.
What is monolithic cladding?
In New Zealand, “monolithic cladding” describes wall cladding with a smooth, continuous finish made to look like plastered masonry. Instead of overlapping boards with visible joint lines, the wall reads as one surface, and it relies on its protective coatings to keep the weather out.
That one look can cover quite different systems. Guidance published by the former Department of Building and Housing (now part of MBIE) gives three examples:
- Stucco: solid plaster applied over reinforcing and a backing.
- Flush-finished fibre-cement: sheets fixed to the building, with the joints stopped and a texture coating over the top.
- EIFS (exterior insulation and finish systems): a plaster finish applied over insulation board.
Each is built differently, has different weak points and is repaired differently. From the street, they can look almost the same. The finish alone won’t tell you what’s underneath, whether there’s a drained cavity behind it, or how the windows and junctions were detailed.
If you’re not sure what your home has, the original building consent documents, often held on the council property file, are a good place to start. You can also read about the systems we work with on our Exterior Plastering and Cladding page.
Why do exterior plaster cracks appear?
There’s rarely one answer, and a photo can’t give it. The usual possibilities are:
- Movement. Framing and other building materials move a little as they take up and lose moisture, and as a house flexes. A rigid plaster finish can crack where that movement concentrates.
- Heat and moisture cycles. Sun, rain and wind make surfaces expand and contract. MBIE’s diagnosis guidance lists dark paint colours among the factors to look out for on flush-finished fibre-cement and EIFS.
- Impact. A knock from a ladder, a mower or a car door can damage the coating or the backing behind it.
- Joints. Control joints are there to let a wall move in a planned place. Where they’re missing, in the wrong spot or have failed, the movement can show up as a crack somewhere else.
- Wear. Coatings and sealants deteriorate over time, faster without maintenance.
In Wellington it’s natural to think of earthquakes first, but a crack isn’t automatically earthquake damage. Several of these causes look alike on the surface. That’s why the cause needs to be identified, not assumed.
Hairline cracks and recurring cracks
Seeing a crack and knowing its cause are two different things. A fine hairline crack may be limited to the surface coating. It may also be the visible edge of something else. Width alone doesn’t settle the question, so you won’t find a “safe” width in millimetres here.
How the crack behaves over time tells you more:
- Does it come back after it has been filled or painted?
- Is it getting longer or wider?
- Have new cracks appeared nearby?
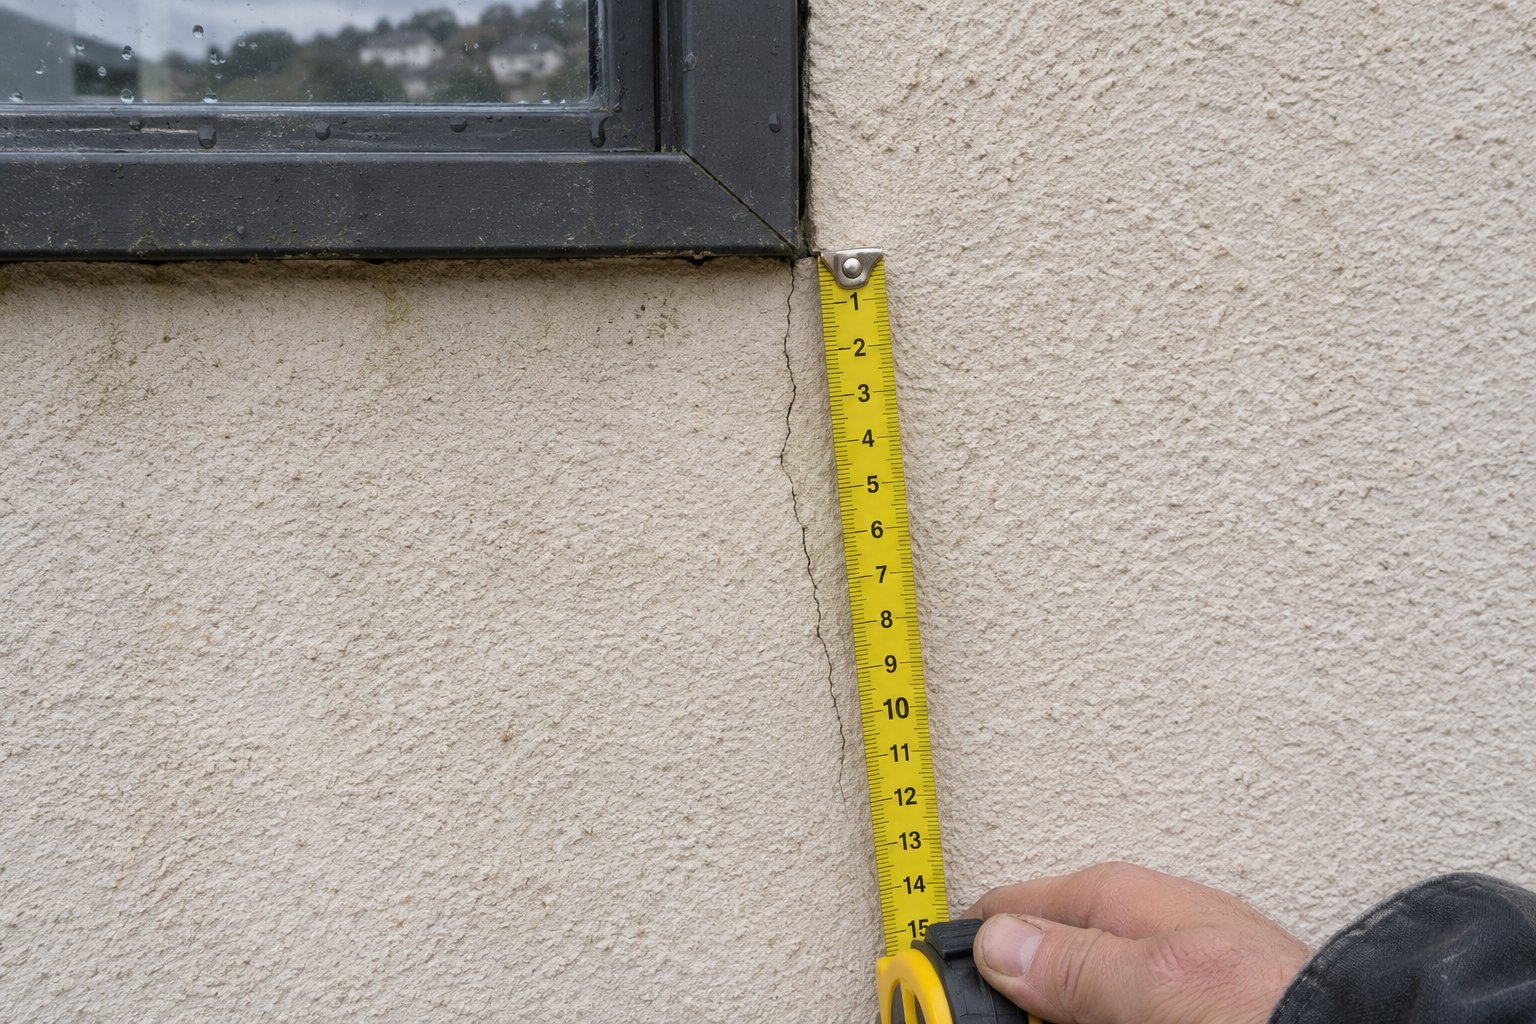
- Does it line up with a window corner, a floor level or a joint?
A crack that keeps coming back or keeps changing is a reason to look for the cause rather than cover it again.
Cracks around windows, joints and penetrations
Where a crack sits matters as much as how it looks. Window and door openings, joints in the cladding, corners, the line between storeys, and any spot where pipes, cables or fixings pass through the wall all depend on careful detailing and sealing to keep water out.
MBIE’s diagnosis guidance names several of these as common problem areas for monolithic claddings, including failed or poorly maintained coatings and joints, and junctions that rely on paint, texture coating or sealant to seal around windows. It also points to the ends of apron flashings (where a lower roof meets a wall) and the clearance between the bottom of the cladding and the ground.
You can check most of this from the ground. Walk around the house on a dry day, use binoculars or your phone’s zoom for the upper storey, and look at the same walls from inside. Please don’t climb ladders, get on the roof or put up scaffolding for a closer look. Leave that to someone with the right equipment and training.
Which signs need professional assessment?
Arrange a qualified assessment if a crack is recurring or changing, especially if you also notice any of these:
- staining or discolouration on walls, ceilings or skirtings near the cracked area
- a musty or damp smell in a room
- paint bubbling, flaking or lifting on the plaster
- swollen skirtings or trims, or mould on interior surfaces
- the coating or the material under it breaking down around the crack
- water dripping from the soffits or the bottom of the cladding long after rain has stopped
These all appear in MBIE’s list of possible signs of moisture problems. Two cautions go with that list.
First, a sign doesn’t prove a cause. Damp inside can also come from a plumbing leak or a steamy bathroom, as the same guidance points out.
If you suspect water is getting in, or that there’s a structural problem, get the right kind of professional to look. Depending on what’s found, that could be a cladding specialist, a building surveyor or weathertightness assessor, or a structural engineer.
What should you do before a crack repair?
Start a simple record. It costs nothing and makes any assessment more useful.
- Take a wide photo that shows where the crack sits on the wall, then a close-up.
- In the close-up, hold something of known size beside the crack, such as a coin or a tape measure, for scale.
- Note the date. Repeat the same photos from time to time and after big storms, so you can see whether anything changes.
- Write down anything you’ve noticed inside, and whether it seems linked to heavy rain or a particular wind direction.
- Gather what you know about the house: roughly when it was built, the cladding system if you know it, and any past repairs, recoats or sealant work, and who did them.
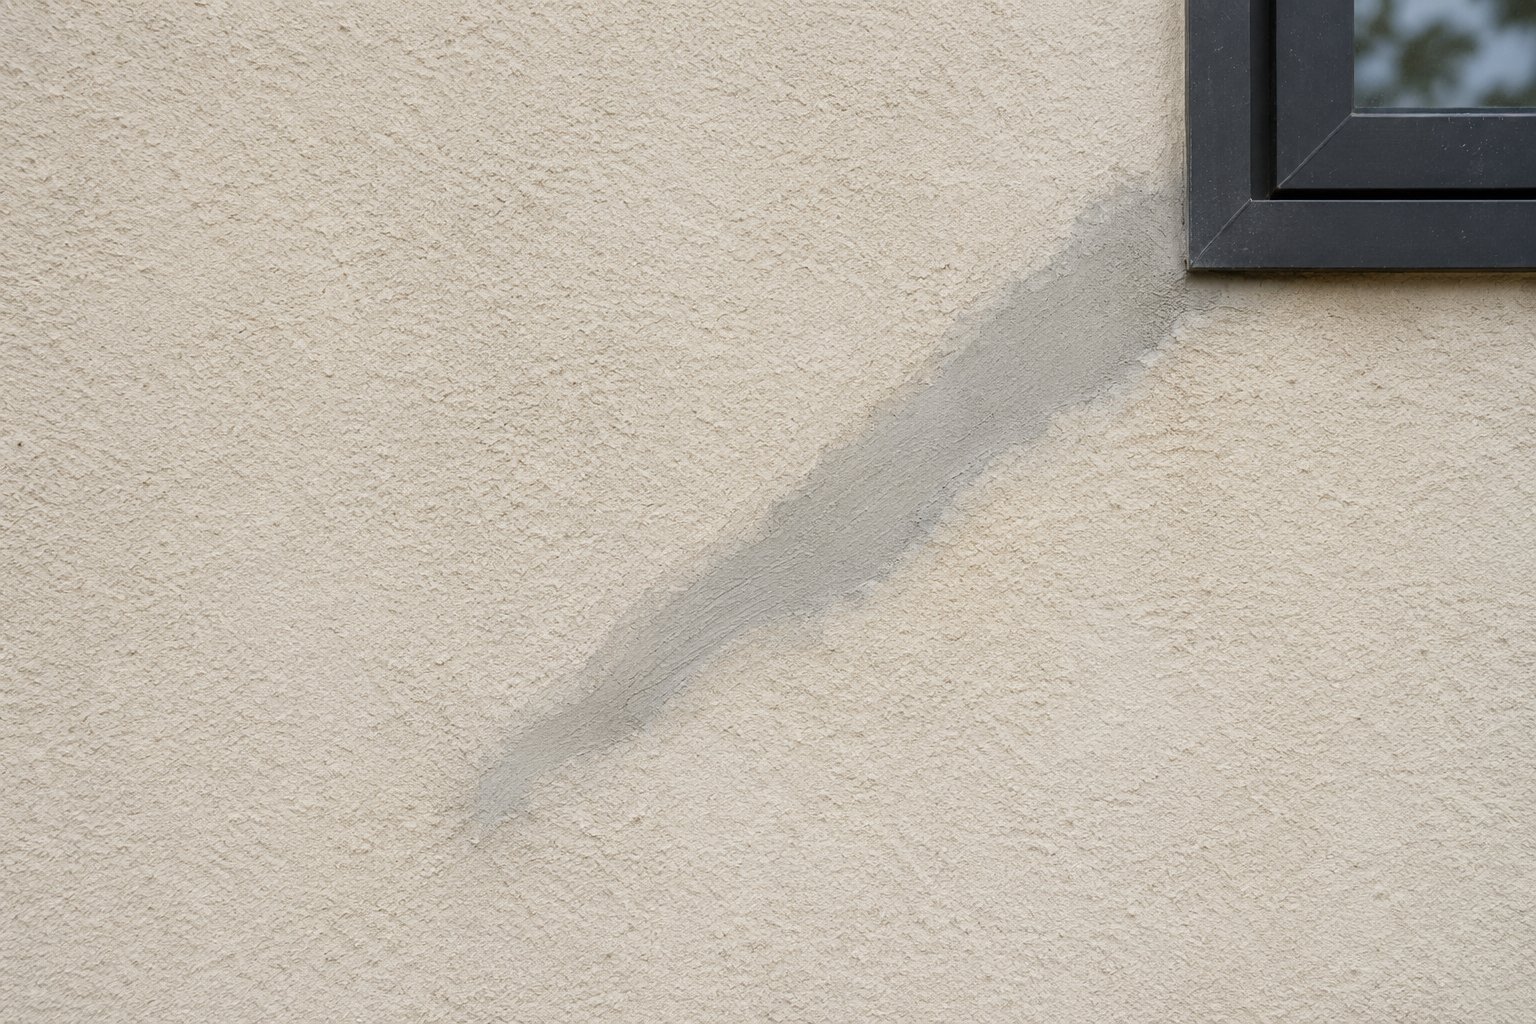
And a few things not to do. Don’t drill, cut or dig at the plaster. Don’t push pins or probes into the wall to test for moisture. Don’t fill the crack with a DIY patch or a bead of sealant. A patch can hide the evidence an assessor needs, and past repair attempts, such as extra sealant, are part of the history they’ll ask about.
Can repainting or a recoat solve the problem?
Sometimes a recoat is part of the answer, and sometimes it isn’t. It depends on the substrate and on what caused the crack, and how long cracks are exposed to the elements.
Coatings are part of what protects monolithic cladding, but painting over a crack doesn’t fix a leak, a failed flashing or damage already hidden in the wall. If the cause is still active, the crack can come back through the new paint.
The cause should guide the repair. Once it’s understood, the options can include targeted monolithic cladding crack repairs, a recoat of the affected area, or in some cases larger work. Recoating versus recladding deserves its own article, so we’ll leave that comparison for another day.
What happens during an assessment?
Expect questions first. When did you first notice the crack? Has it changed? Have there been damp patches or leaks inside? Has anyone repaired that wall before? Your photos and notes help here.
Next comes a visual check of the cracked area and the details around it: openings, joints, flashings, penetrations, the base of the cladding and the condition of the coating. The point is to understand how the crack relates to the rest of the wall, not just to look at the crack.
It helps to know what a visual assessment can and can’t do. It can show whether a crack looks like surface wear or whether there are signs pointing to something deeper. It can’t confirm what’s going on inside the wall. MBIE’s guidance describes diagnosing a leaking building as work that needs a high degree of skill, experience and knowledge, and it can involve moisture testing, cut-outs and samples. Those are separate, specialised services. If the signs point beyond a cladding repair, a good contractor should say so and suggest bringing in a weathertightness specialist or a structural engineer.
Looking after a plaster home in Wellington
BRANZ notes that wall cladding and coating systems are likely to need regular maintenance to stay waterproof and durable. Some systems also include working parts, such as drainage outlets for a drained cavity, that need maintenance and sometimes protection so they keep doing their job.
BRANZ also explains that Building Code guidance for external walls expects maintenance to be carried out as needed, so materials, components and the junctions between them stay durable for as long as they’re required to. Its examples include washing exterior surfaces, keeping finish coatings in good order and maintaining minimum clearances.
What that means for your home depends on the system and how exposed the walls are. A wall facing the prevailing wind, salt air near the coast or heavy shade won’t behave like a sheltered one, so there isn’t one schedule that suits every plaster house. A few habits help in most cases:
- Find the maintenance information for your system. For residential building work, building.govt.nz says your contractor must give you information about how to maintain the work once it’s finished, whatever the price of the job, particularly where maintenance is needed to meet the Building Code or could affect a guarantee or warranty. If you have it, follow it.
- Keep a maintenance schedule. BRANZ recommends a simple document listing the materials on your house and the maintenance each one needs.
- Keep the base clear. Don’t let soil, garden beds, mulch or paving build up against the bottom of the cladding.
- Look, don’t poke. A walk around after winter storms, checking cracks, coatings and sealant from the ground, adds to your record.
Can a hairline crack still matter?
It can, depending on where it is and what it’s doing. A fine crack in the middle of a sheltered wall that hasn’t changed in years is a different situation from a fine crack at a window corner that keeps reopening. Context matters more than width.
Does every cracked plaster house leak?
No. A crack doesn’t automatically mean water is getting in. But no photo can rule out hidden damage either, which is why recurring cracks, and cracks that come with the signs above, are worth a look on site.
If you’ve noticed cracks in your plaster and want a clear next step, RenderMates works across Greater Wellington. Get in touch to discuss your exterior plaster concerns and arrange a visit. A photo can’t tell us the cause, but yours will help us plan what to look at.